I developed this training as part of a five-member team for my Mechanical Engineering capstone project at the University of Texas at Dallas. The simulation is designed to help healthcare professionals mitigate workplace violence, and it was built for both PC and the Oculus Quest.
Audience: Healthcare Professionals
Responsibilities: Instructional Design, Graphic Design, Animation, 3D Modeling
My team and I conducted our research through discussions with medical professionals at UT Southwestern Medical Center. This included both our project sponsor and various other subject matter experts. These discussions helped our team understand the steps that healthcare professionals need to follow to mitigate workplace violence. We also conducted research about the Oculus Virtual Reality technology and Unity software. We continued this technical research throughout the entire development phase.
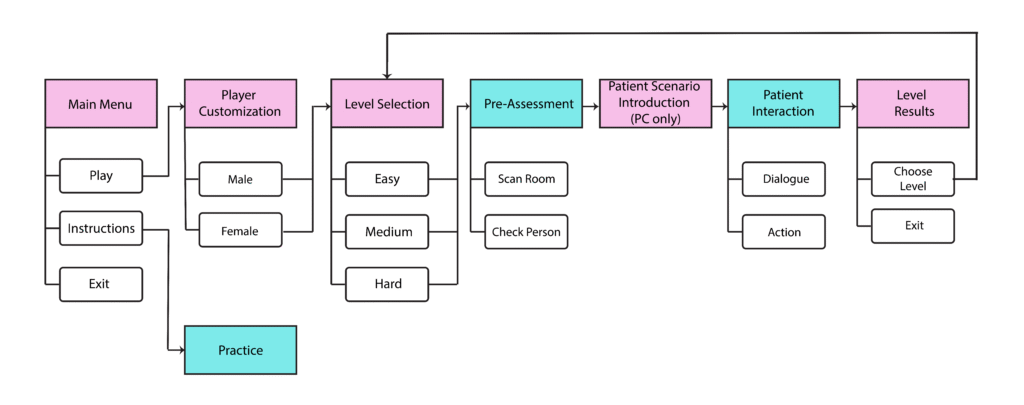
To get a better understanding of the content and structure, I first created a flowchart diagram that demonstrated the sequence of the simulation and then a storyboard using Adobe Illustrator that displayed the visual elements for each step of mitigating workplace violence.
Building the Dialogue and Action Algorithm
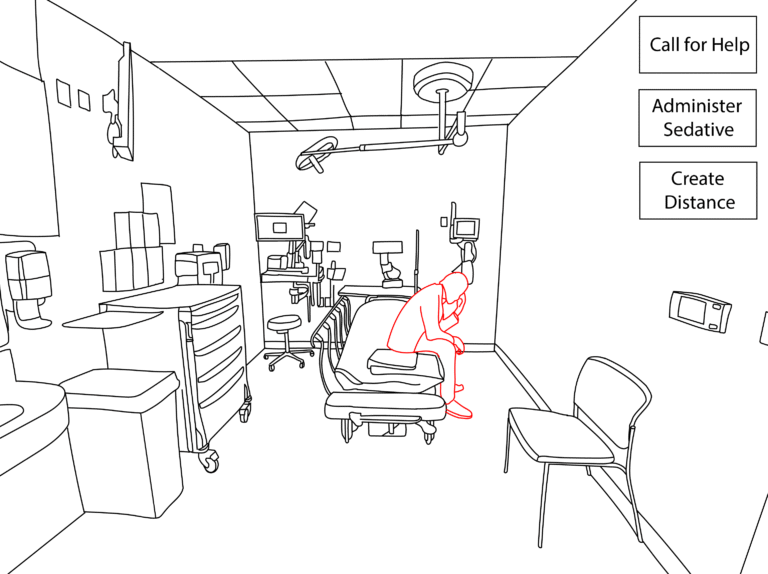
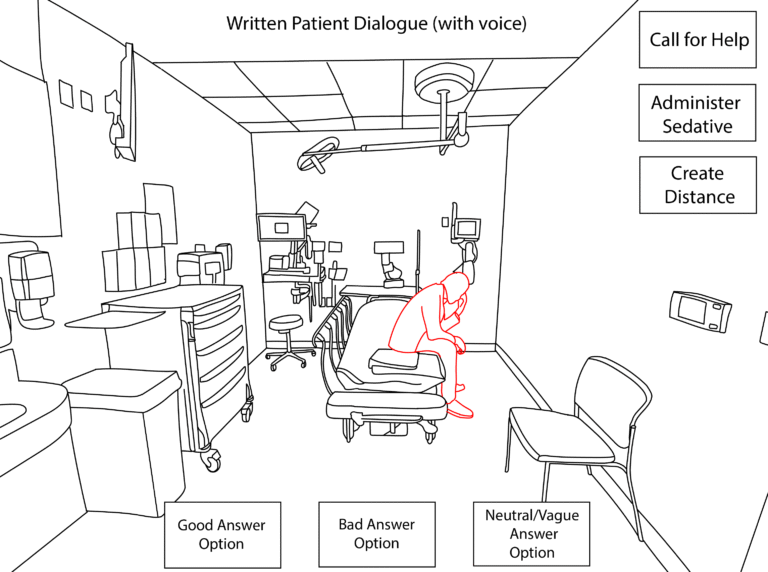
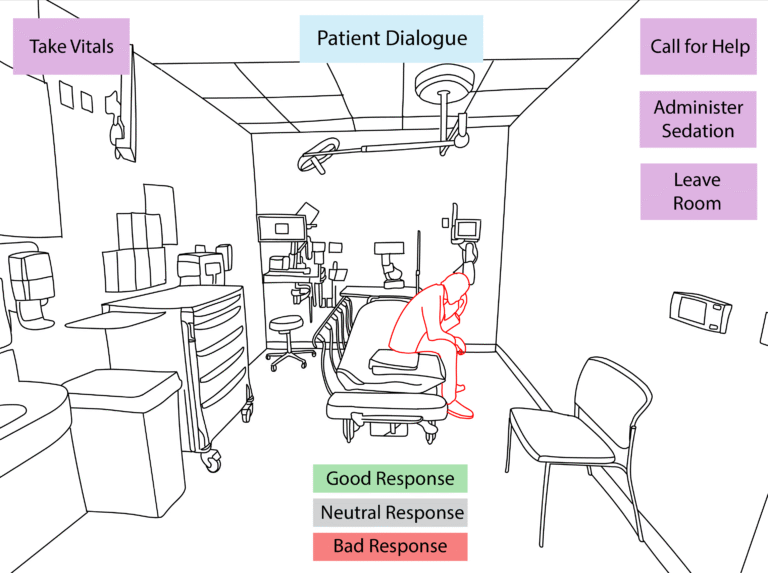
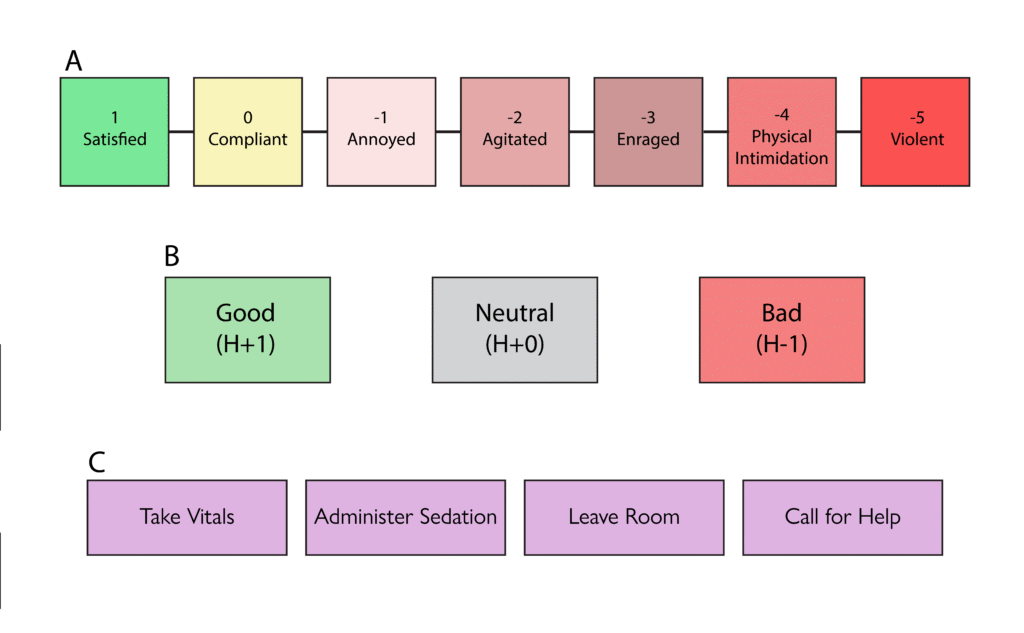
To track the emotion of the patient in each scenario, our team created the H-Value, which would range from -5 to 1. This served as the variable that determined the users final score, which corresponded to an emotional level of the patient. We also decided on action options that were determined from our discussions with the subject matter experts. Each dialogue and action item had their own effect on the H-Value.
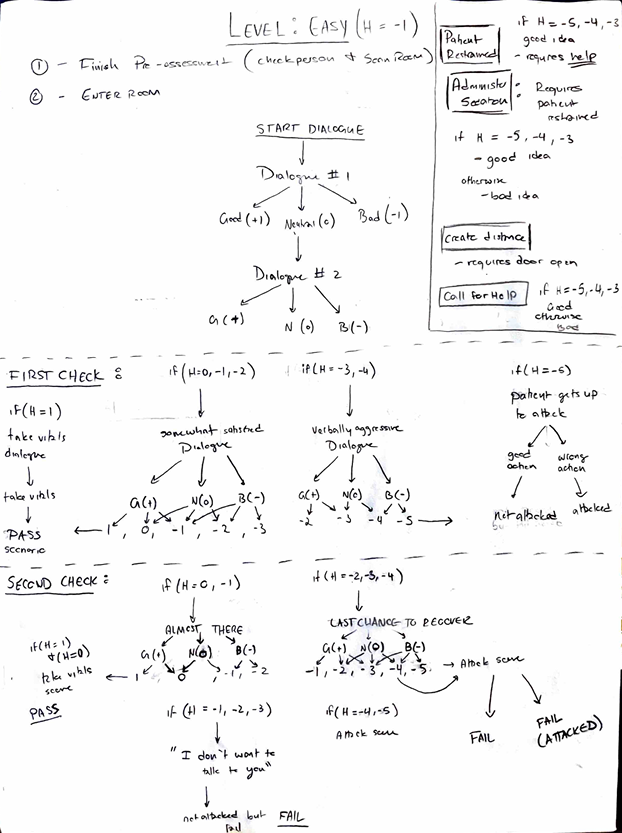
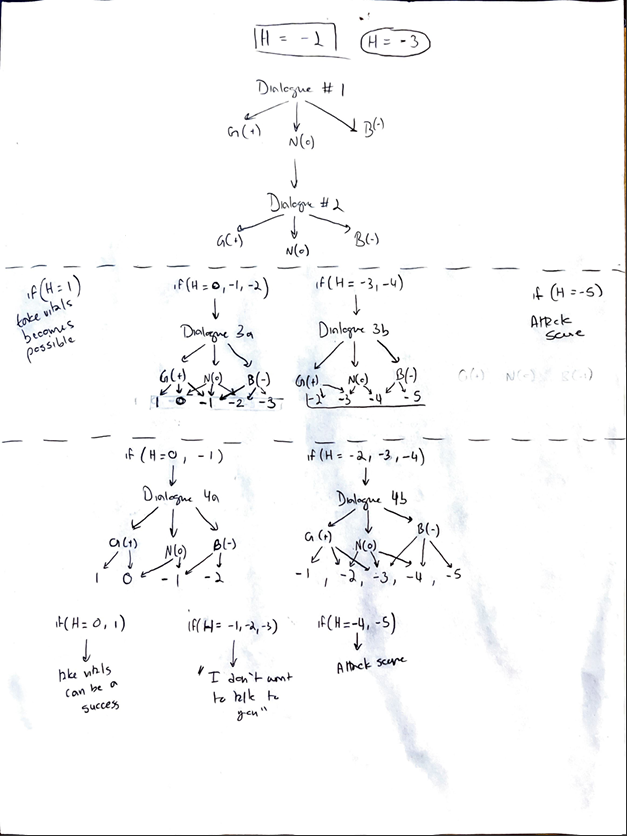
Since the entire simulation was conversation and action based, I created a dialogue algorithm that would keep track of the users score and determine the reactions that the patient would provide. Since this was a prototype, our team decided to limit the scope of variability in the dialogue, therefore I restricted the amount of dialogue options presented to the user. We then created the dialogues for each level based on this algorithm.
Based on this algorithm, my team and I mapped out all the dialogue scripts and the outcomes based on the action items available to the user. Click the buttons below to view all the dialogue and action outcomes, respectively.
As the design lead of the project, I created the team and product logo using Adobe Illustrator. I then took the logo and animated it for the simulations splash screen using Adobe After Effects. The two versions of the animation are shown below.
To best represent all facets of the project, I included a shield to represent protection, a cross to represent the medical community, and the rounded rectangle to represent the virtual reality aspect of the simulation.
Constructing the Simulation Models
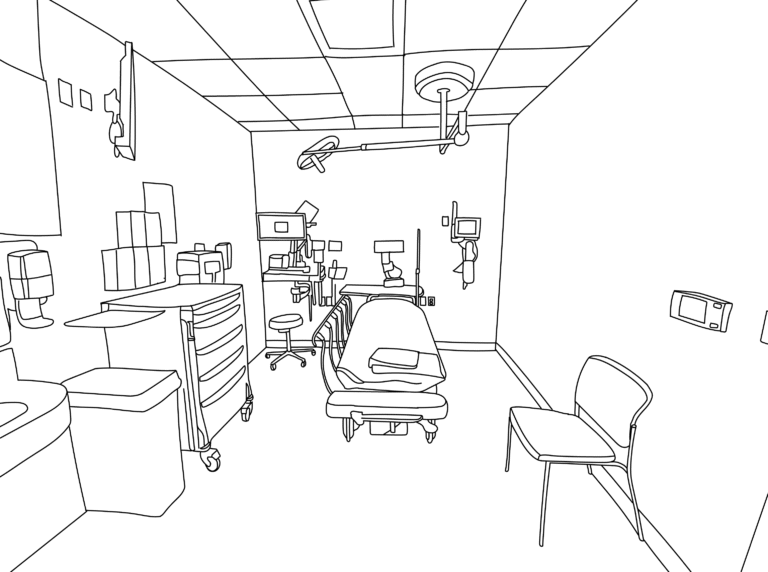
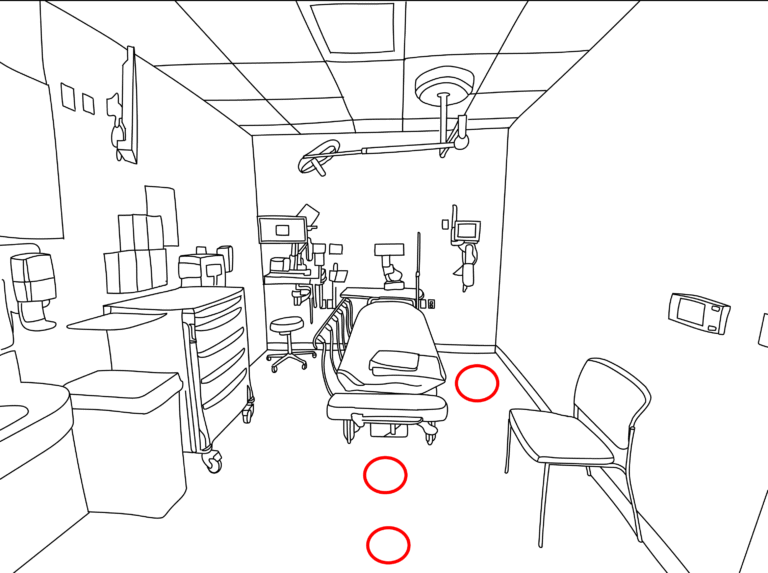
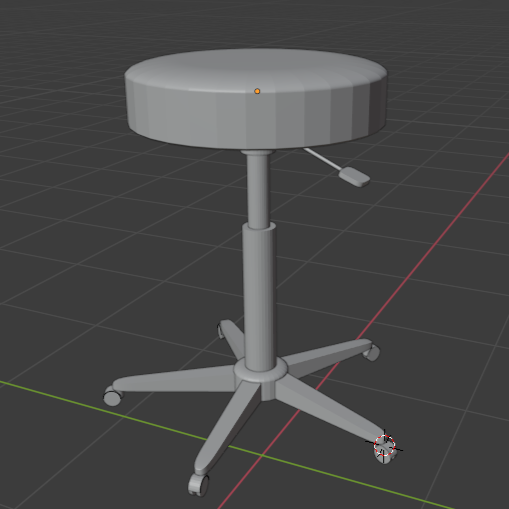
To create the virtual environment, my team and I developed models using the Blender software. Our model references were based on a photo of a standard hospital room provided by the healthcare team during our initial discussions. The following models are ones that I created:
Rolling Stool
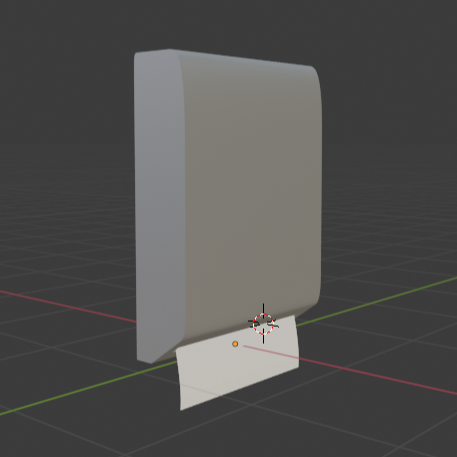
Paper Towel Dispenser
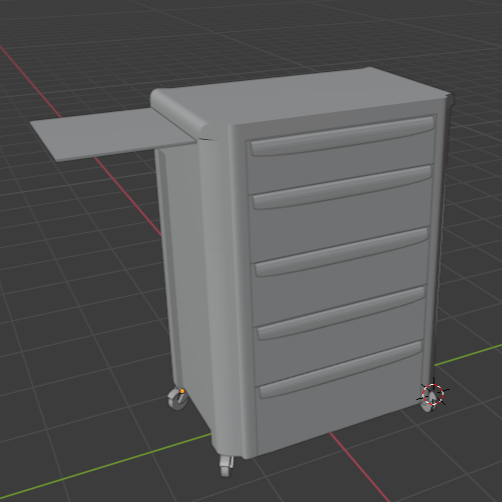
Cart
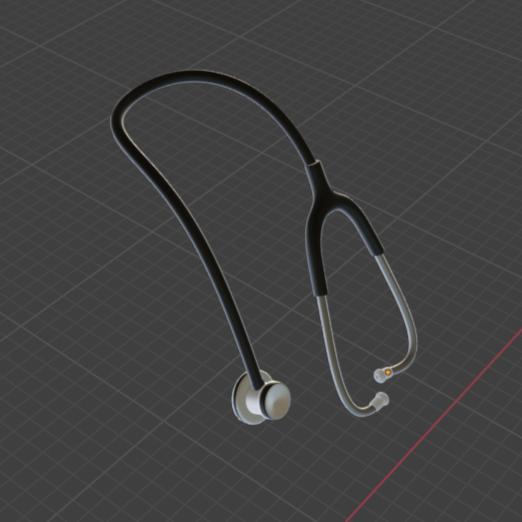
Stethoscope
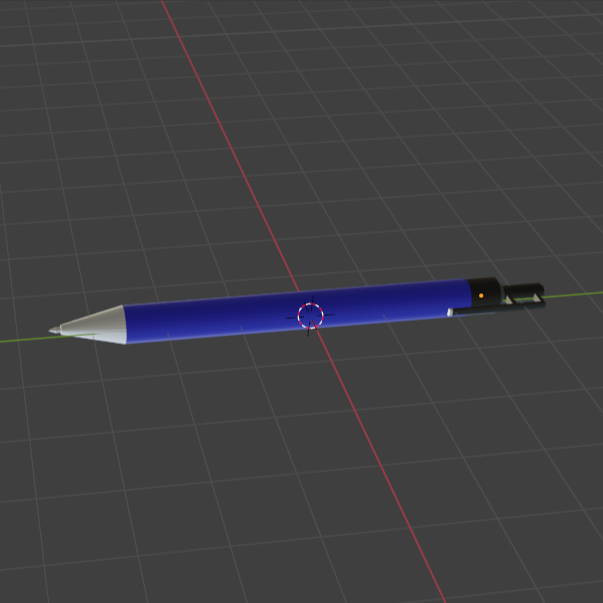
Pen
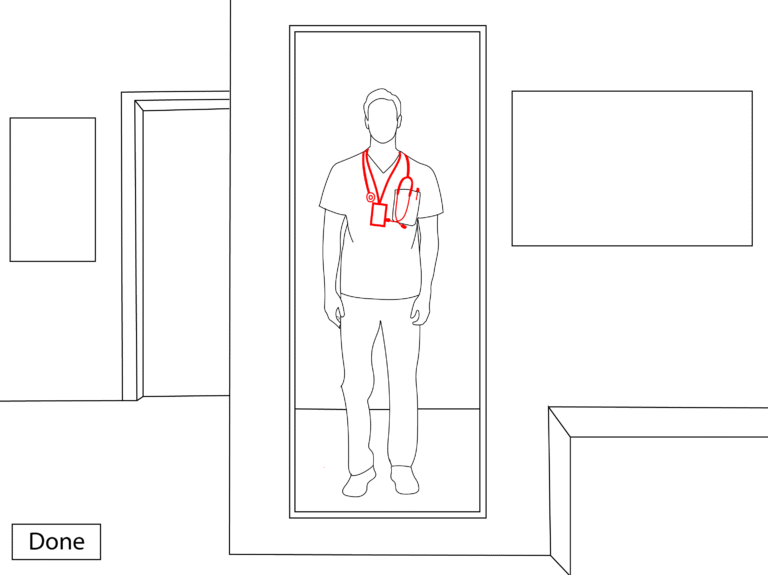
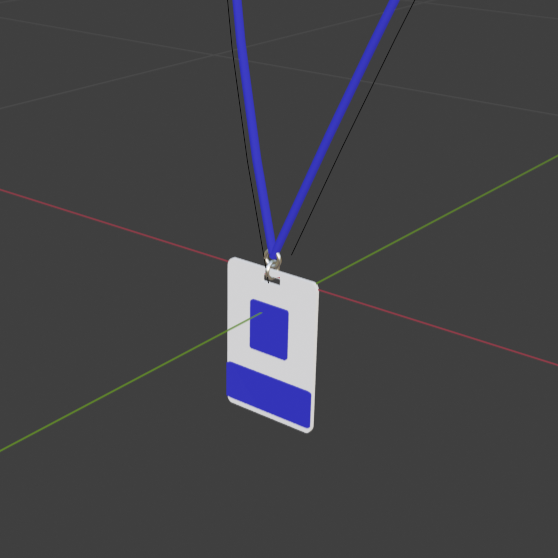
ID Badge Lanyard
Creating the Final Product
We created the final application using the Unity software. This included creating the virtual environment and coding the interactions between all the objects. To create the virtual environment, we utilized our own Blender models and purchased assets from the Unity store. Purchasing assets from the Unity store helped us stay on schedule. For example, we purchased a conversation asset that allowed us to implement our dialogue algorithm exactly as we needed tremendously reducing our development time. To code, we used Unity’s primary scripting language, C#. My main task during this phase was designing and coding the user interface features, particularly in the non-gameplay screens such as the main menu, instructions menu, player selection, and closing score screen.
Here is a demo of the simulation on the PC platform:
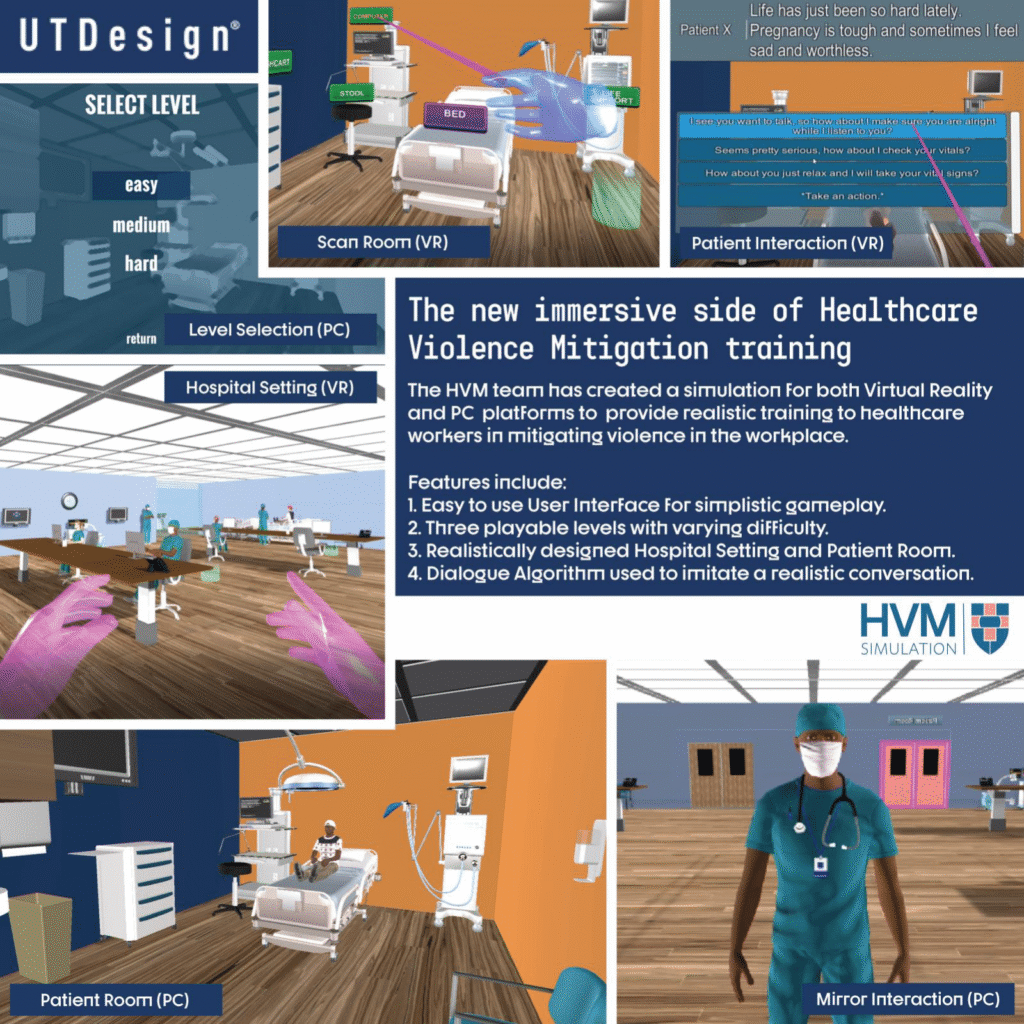
Creating the Infographic
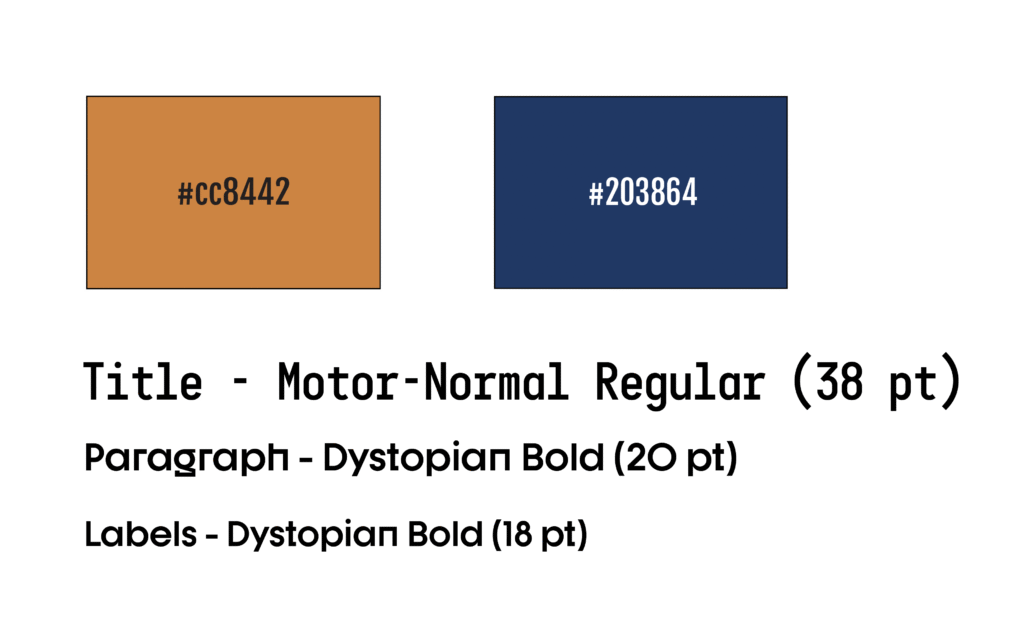
As part of the final presentations, I created an infographic using Adobe InDesign that summarized the project and its main features. I chose the colors based on the environment we created within the simulation, and I chose the fonts due to their futuristic look.
Click the following button to open the Healthcare Violence Mitigation Infographic in another window.